はじめに
この記事ではプレイヤーがスイッチ用の GameObject をインタラクトすると鏡の有効化と無効化が切り変わるというワールドギミックの制作を通じて VRChat のワールドギミックの作成方法を解説します。
手順
では早速その手順を解説します。
鏡とスイッチの GameObject の作成
手順1
まだ VRChat のワールドを制作していない場合は VRChat のワールドを制作します。
以下の記事は白い地面があるだけのシンプルなワールドを作るというものですが、ワールド制作の参考になるかと思います。

手順2
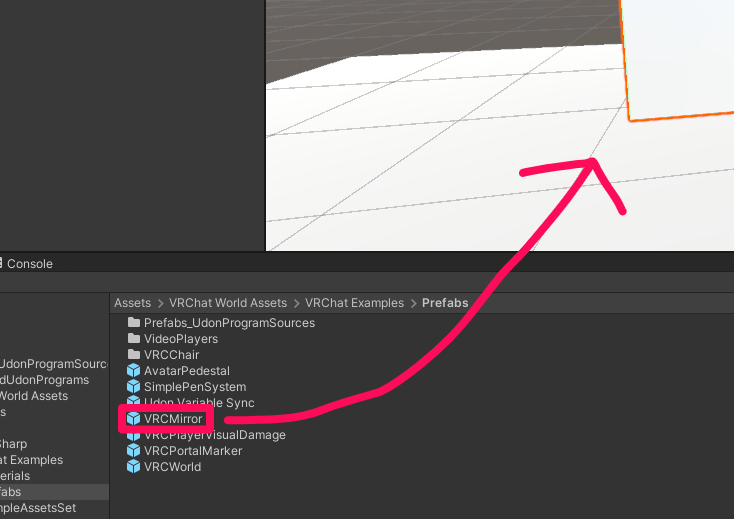
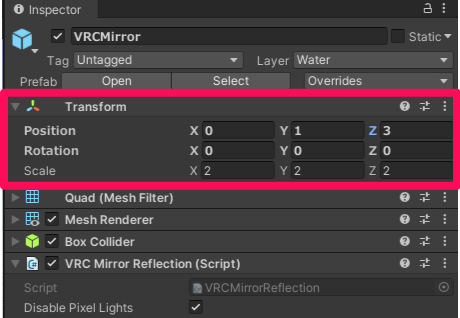
プロジェクトウィンドウの「Assets > VRChat Examples > Prefabs > VRCMirror」をシーンビューにドラッグ & ドロップします。
これが鏡用の GameObject です。
手順3
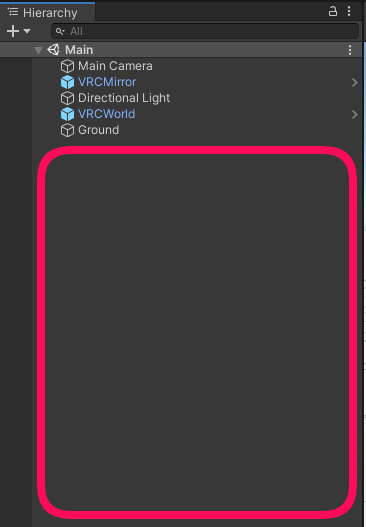
シーンに追加した VRCMirror をヒエラルキーで選択してインスペクターの Transform で位置や角度、大きさなどを調整します。
手順4
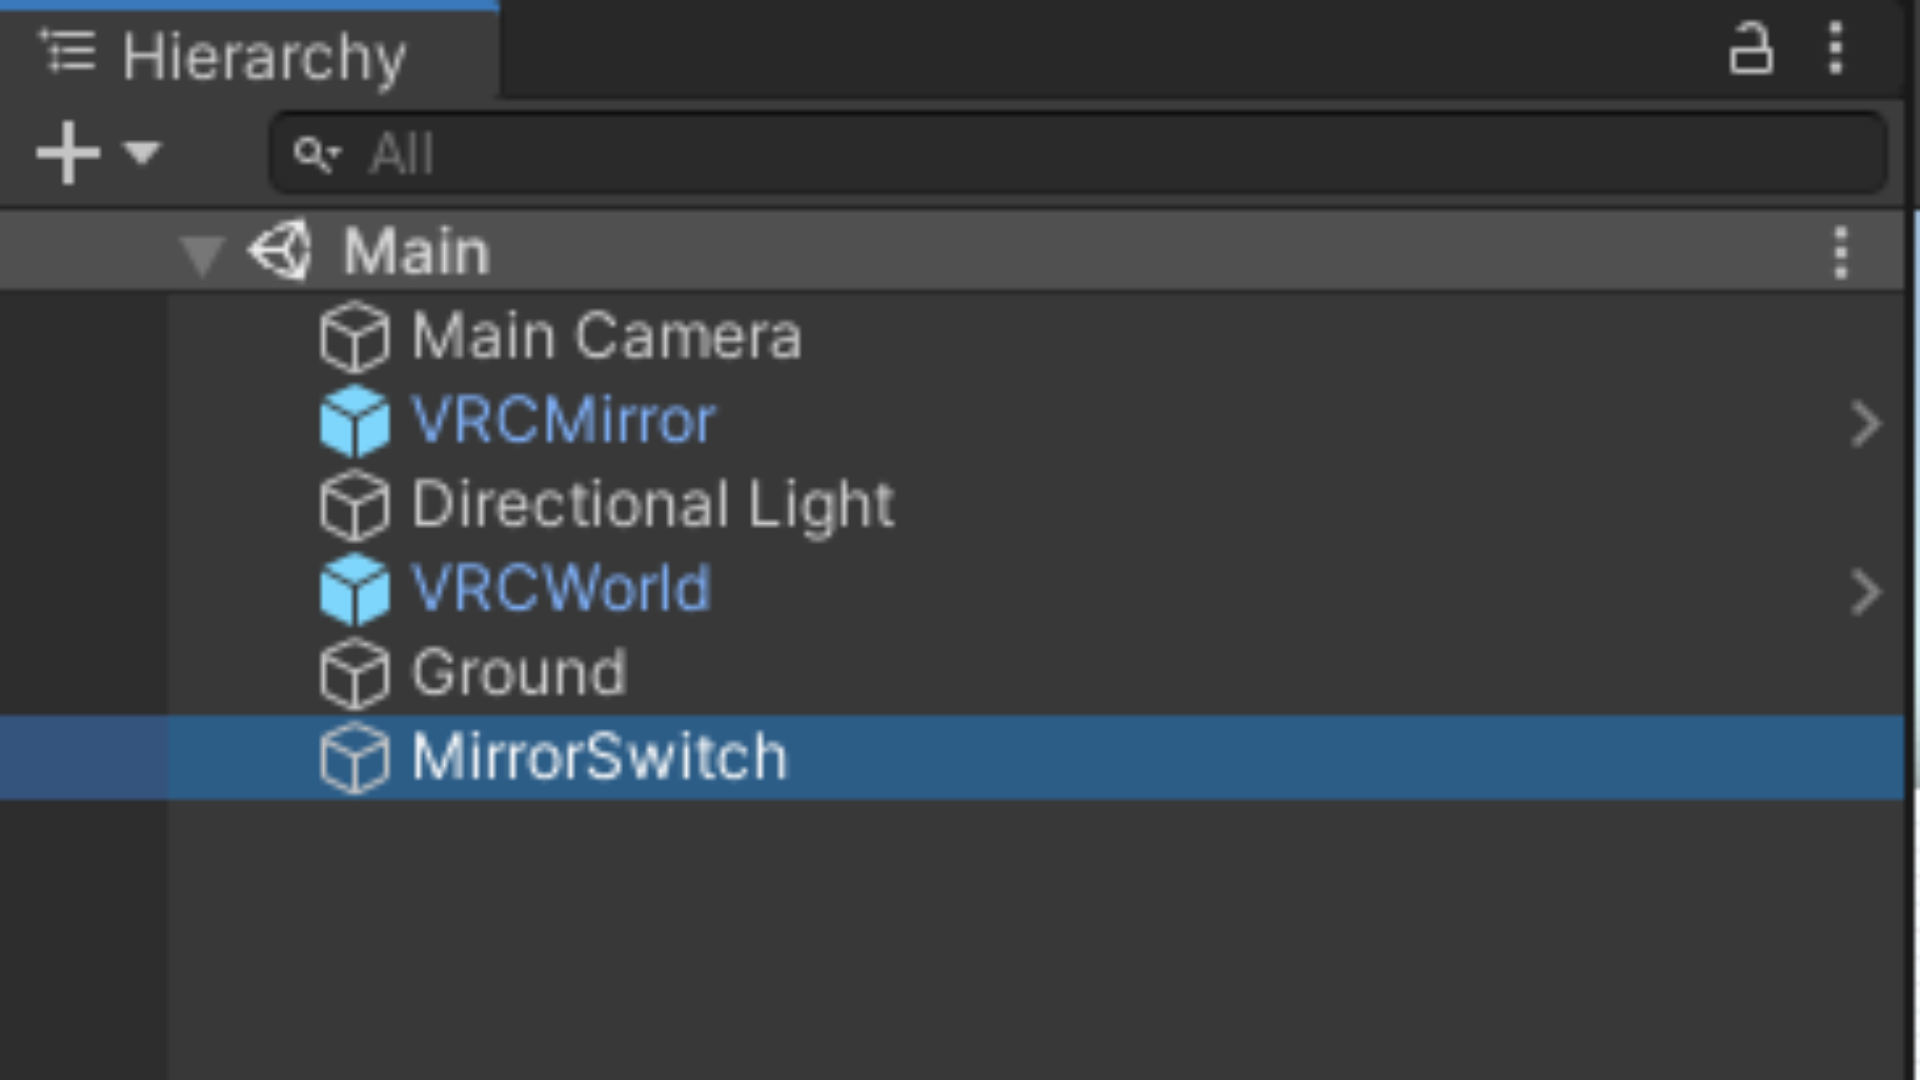
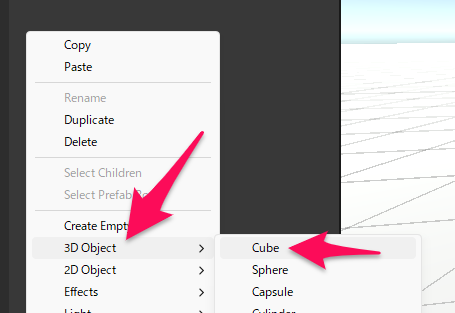
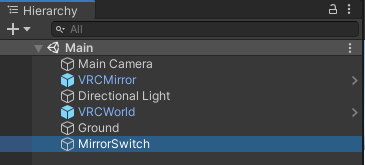
ヒエラルキーの空いているスペースで右クリックして「3D Object > Cube」などを選択してメッシュ付きの GameObject を配置します。
これが鏡の有効化と無効化を切り替えるためのスイッチになります。
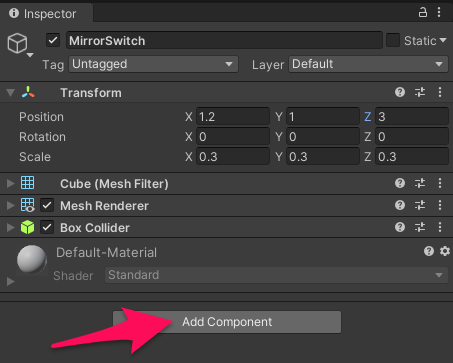
手順5
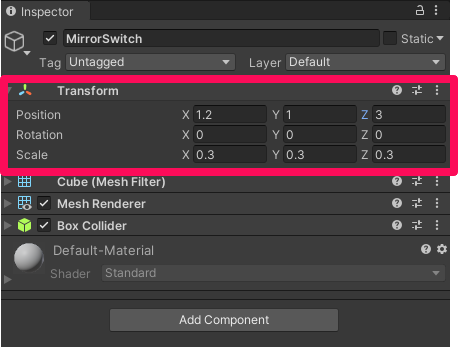
作成したスイッチ用の GameObject の位置や角度、大きさなどを調整します。
(この記事の例では先ほど作成したスイッチ用の GameObject の名前を「MirrorSwitch」に変更しています)
スクリプトの作成とコーディング
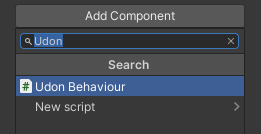
手順6
スイッチ用の GameObject をヒエラルキーで選択した状態でインスペクターの下の「Add Component」を押して検索枠に「Udon」と入力し、「Udon Behaviour」コンポーネントをアタッチします。
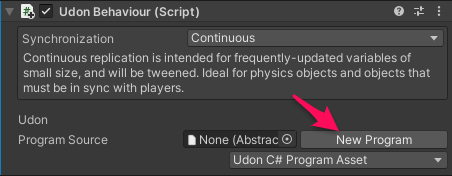
手順7
アタッチした Udon Behaviour コンポーネントの「New Program」を押します。
手順8
数秒ほど待ってから、Udon Behaviour コンポーネントの「Create Script」を押します。

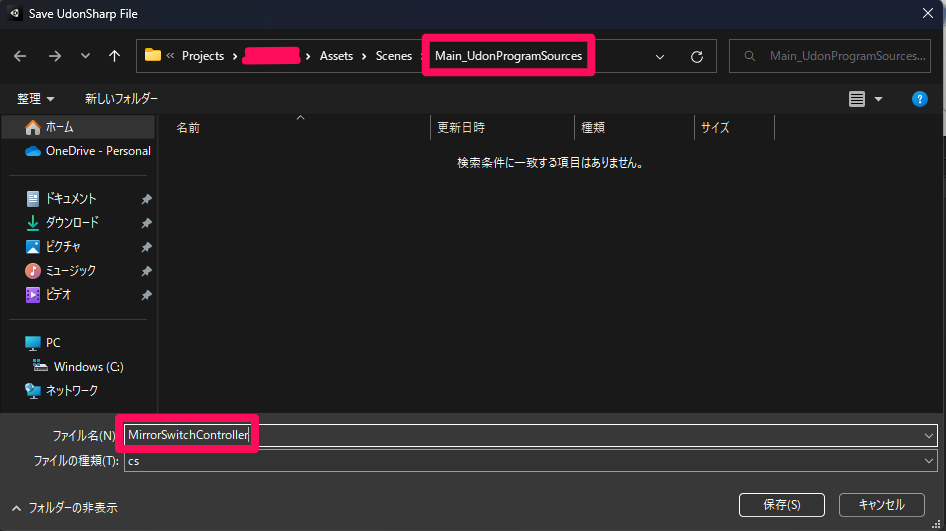
手順9
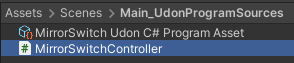
ダイアログが開くのでスクリプト名を「MirrorSwitchController」などに変更して保存先が「Main_UdonProgramSources」になっていることを確認してから「保存(S)」を押します。
手順10
プロジェクトウィンドウの「Assets > Scenes > Main_UdonProgramSources」にある、今作成したスクリプトをダブルクリックして Visual Studio などの IDE で開きます。
手順11
IDE が開いたら、以下のコードのように記述しましょう。
using UdonSharp;
using UnityEngine;

public class MirrorSwitchController : UdonSharpBehaviour
{
    [SerializeField]
    private GameObject objMirror; //鏡の GameObject

    //この GameObject がプレイヤーにインタラクトされたときに呼び出される
    public override void Interact()
    {
        //鏡の有効化と無効化を切り替える
        objMirror.SetActive(!objMirror.activeSelf);
    }
}
手順12
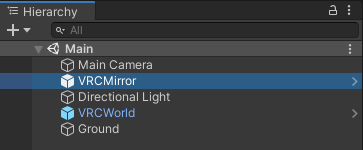
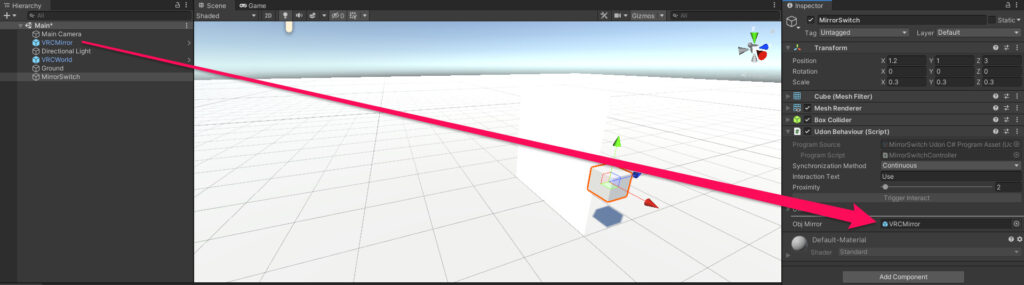
Unity に戻ってスイッチ用の GameObject をヒエラルキーで選択します。
手順13
ヒエラルキーにある鏡用の GameObject をインスペクターの Udon Behaviour コンポーネントの objMirror 変数にドラッグ & ドロップしてアサインします。
手順15
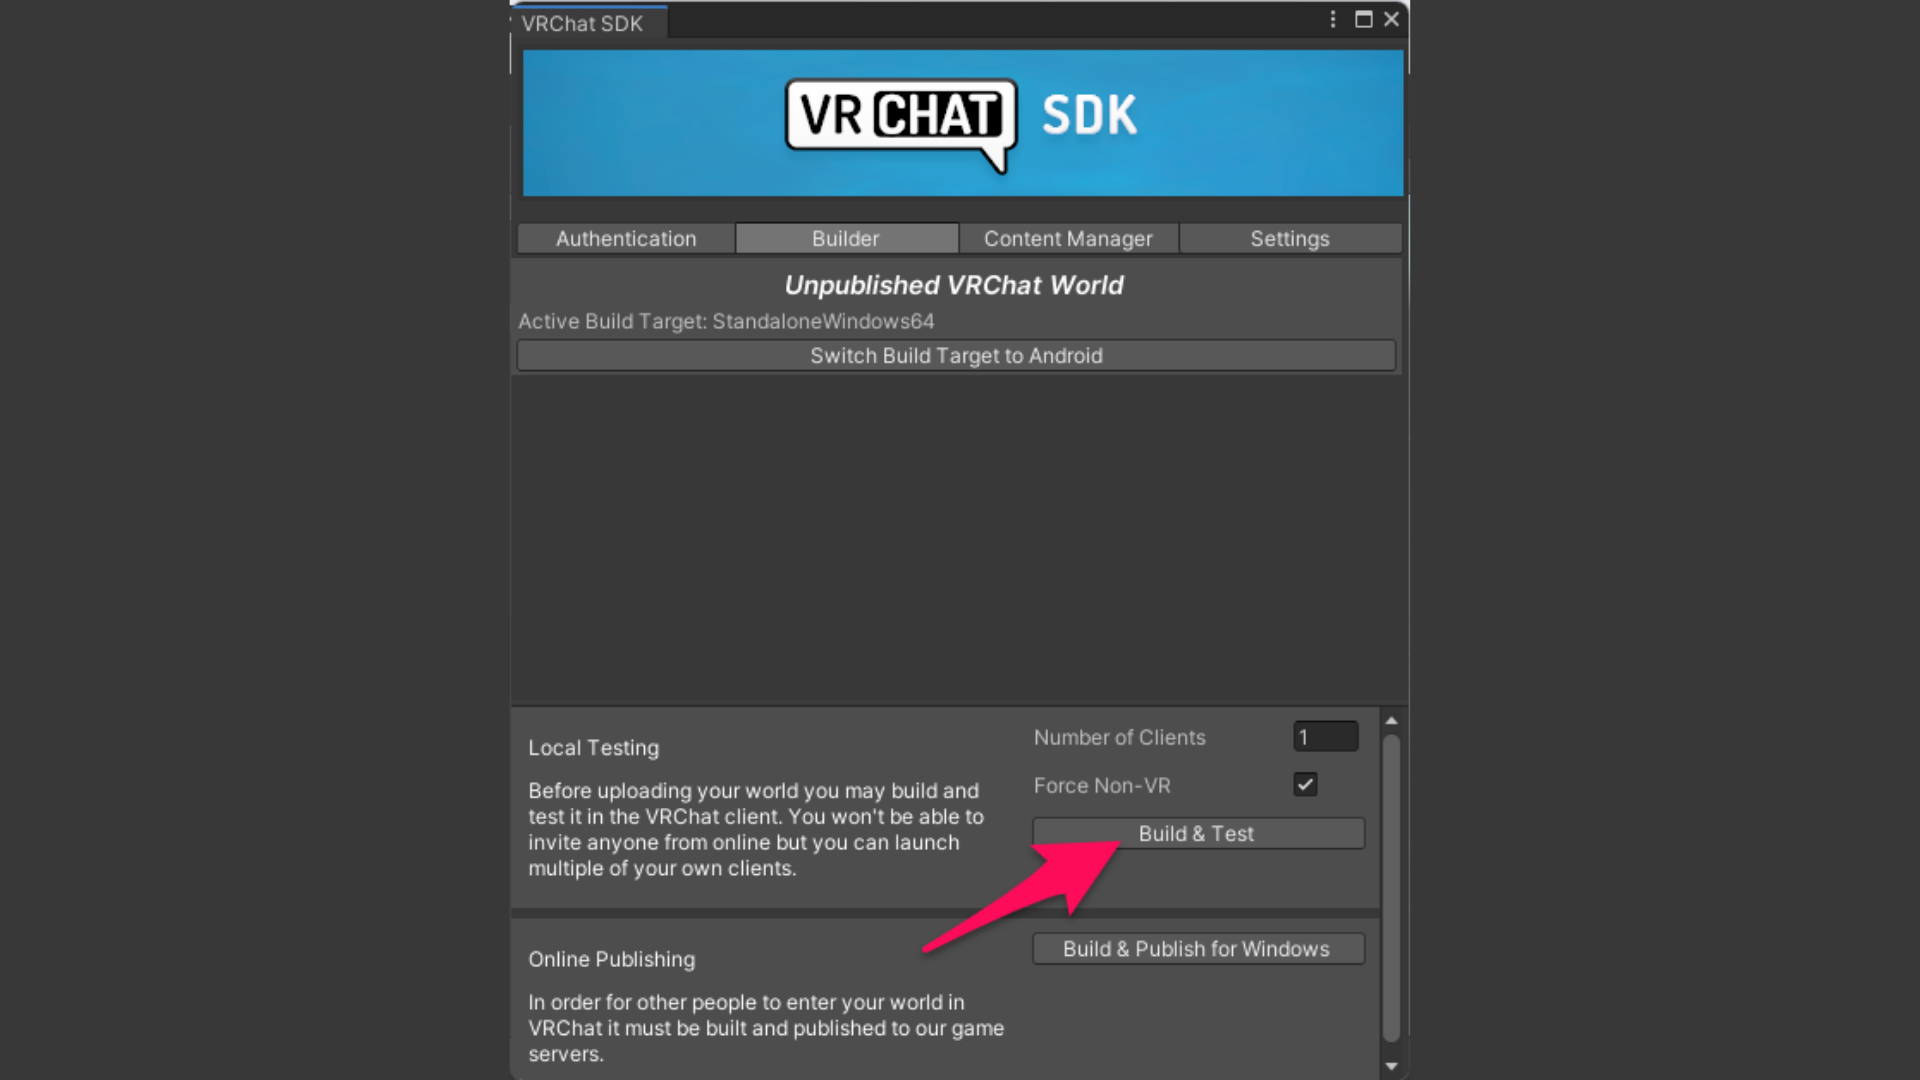
再びこちらの記事を参考にしてテストプレイします。
これでスイッチのインタラクトで鏡の有効化と無効化を切り替えられるというギミックを実装できたかと思います。