はじめに
この記事では「VRChat SDK3」を使って、ただ地面があるだけの非常にシンプルな VRChat のワールドを制作する方法をザックリと解説します。
(この記事の内容は2023年2月時点のものです)
手順
Unity のダウンロードとインストール
手順1
まだ VRChat アカウントを作成していない場合は VRChat の公式サイトで VRChat アカウントを作成します。
手順2
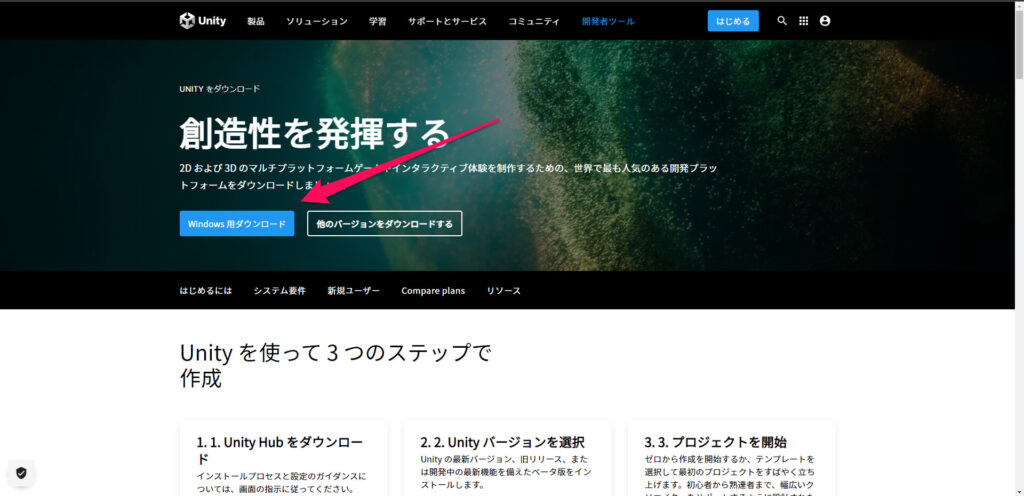
まだ Unity をダウンロードしていない場合はこちらから UnityHub をダウンロードします。
手順3
Unity のセットアップを行います。
この作業に関してはデジタルハリウッド様の「Unityとは?【初心者向け】ダウンロード・インストール方法」という記事が参考になるかと思います。
手順4
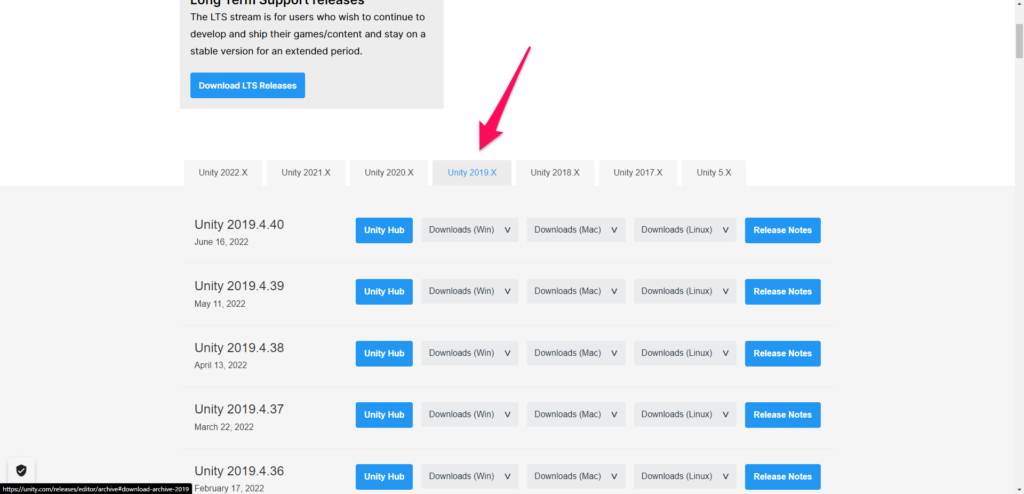
Unity download archive で VRChat の指定バージョンの Unity をダウンロードします。

新規プロジェクトの作成
手順5
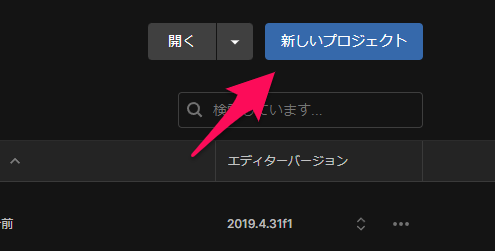
UnityHub を開きます。
手順6
右上の「新しいプロジェクト」を押します。
手順7
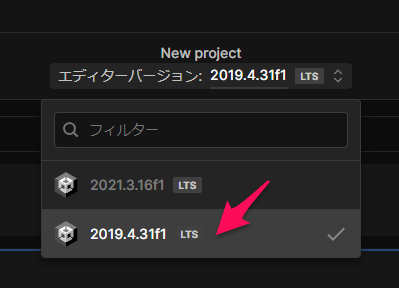
「エディターバージョン」を「手順4」でダウンロードした、VRChat の指定バージョンに変更します。
(この記事では「2019.4.31f1」を使用します)
手順8
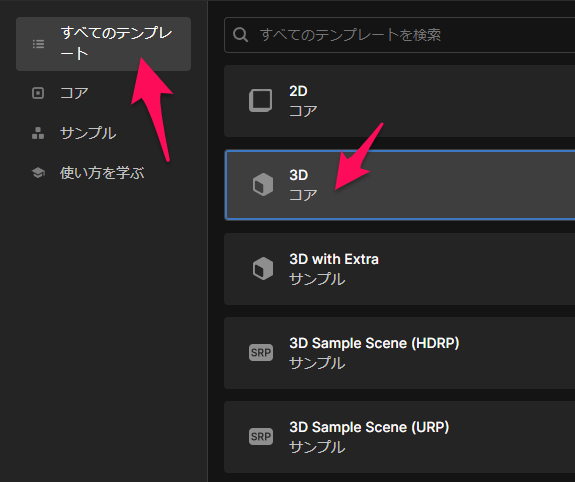
左上の「すべてのテンプレート」から「3D」を選択します。
手順9
右の「プロジェクト設定」で「プロジェクト名」と「保存場所」を設定します。
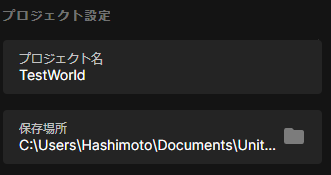
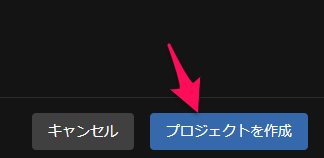
手順10
右下の「プロジェクトを作成」を押してプロジェクトを作成します。
「VRChat SDK3」のダウンロードとインポート
手順11
VRChat の公式サイトにアクセスして右上の「Login」からログインします。

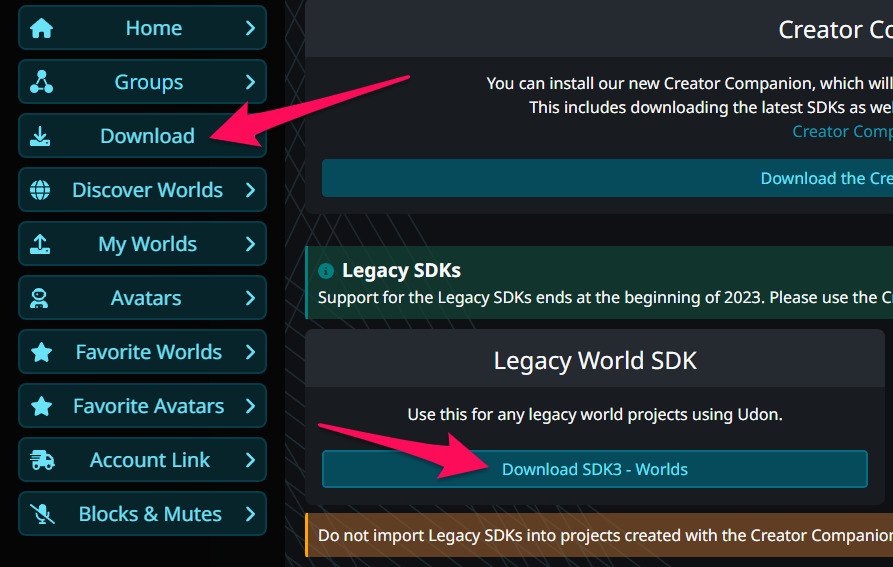
手順12
左の「Download」を選択して少し下にスクロールした後、「Download SDK3-Worlds」を押して「VRChat SDK3」をダウンロードします。
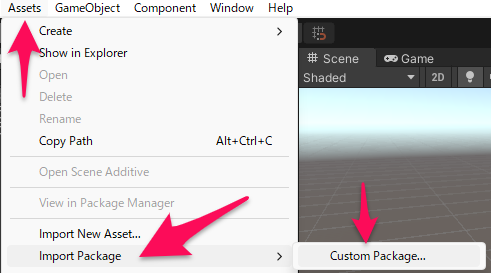
手順13
Unity に戻って「Assets > Import Package > Custom Package…」を選択します。
手順14
ダイアログが開くので「手順12」でダウンロードした unitypackage を選択します。
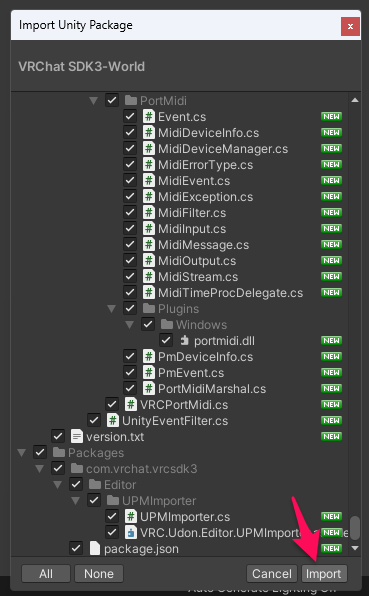
手順15
「Import Unity Package」というウィンドウが開くのでそこで全ての項目にチェックが付いていることを確認して右下の「Import」を押します。
UdonSharp のダウンロードとインポート
手順16
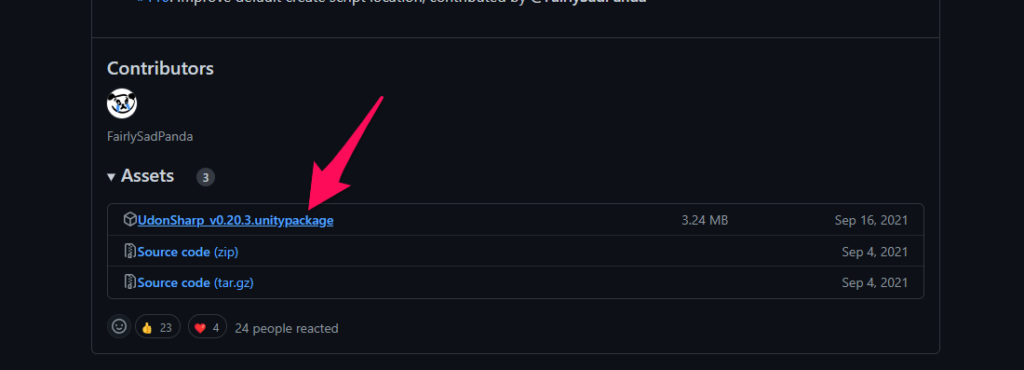
2~3分ほどロードを待った後に MerlinVR 様の UdonSharp の GitHub リポジトリにアクセスして Releases から最新版の UdonSharp をダウンロードします。
手順17
Unity に戻って再び「Assets > Import Package > Custom Package…」を選択します。

手順18
ダイアログが開くので「手順16」でダウンロードした unitypackage を選択します。
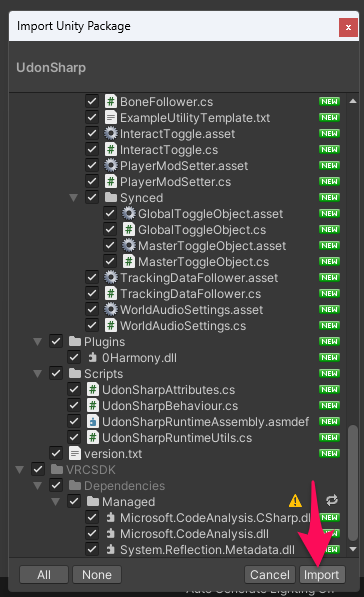
手順19
「Import Unity Package」というウィンドウで全ての項目にチェックが入っていることを確認して右下の「Import」を押します。
VRChat World Assets フォルダの作成
手順20
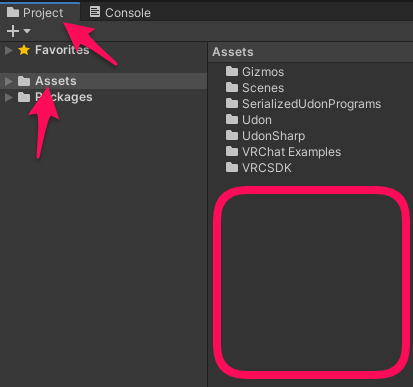
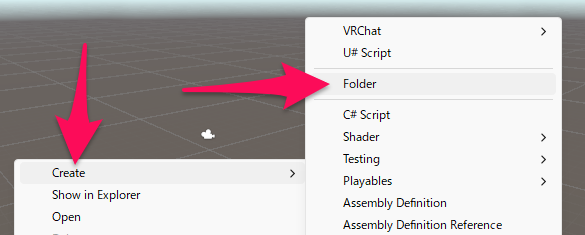
30秒ほどロードを待った後にプロジェクトウィンドウの Assets フォルダの中の空いているスペースで右クリックして「Create > Folder」を選択し、新たにフォルダを作成します。
手順21
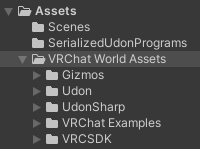
作成したフォルダの名前を「VRChat World Assets」などのわかりやすいものに変更します。
手順22
プロジェクトウィンドウの Assets フォルダの中の Scenes フォルダと SerializedUdonPrograms フォルダ以外のフォルダを先ほど作成したフォルダに移動します。
ワールドの作成
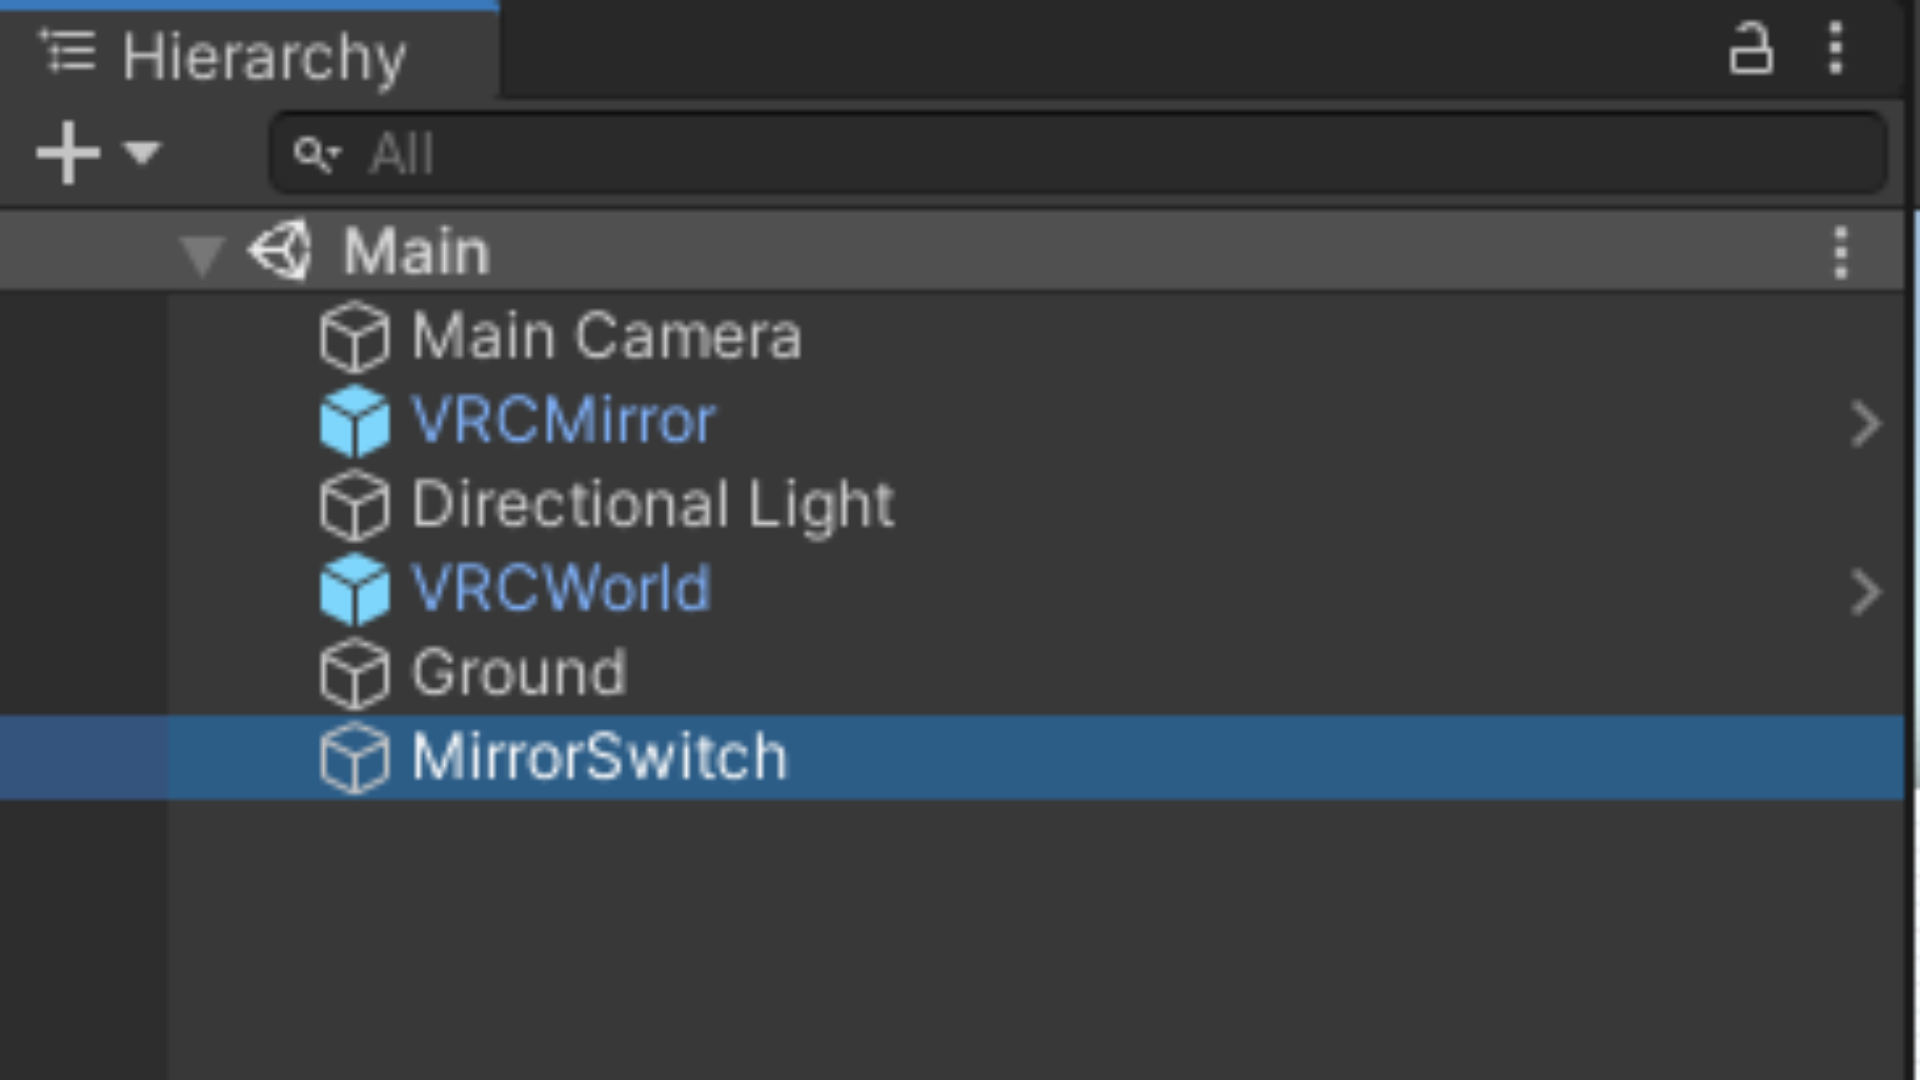
手順23
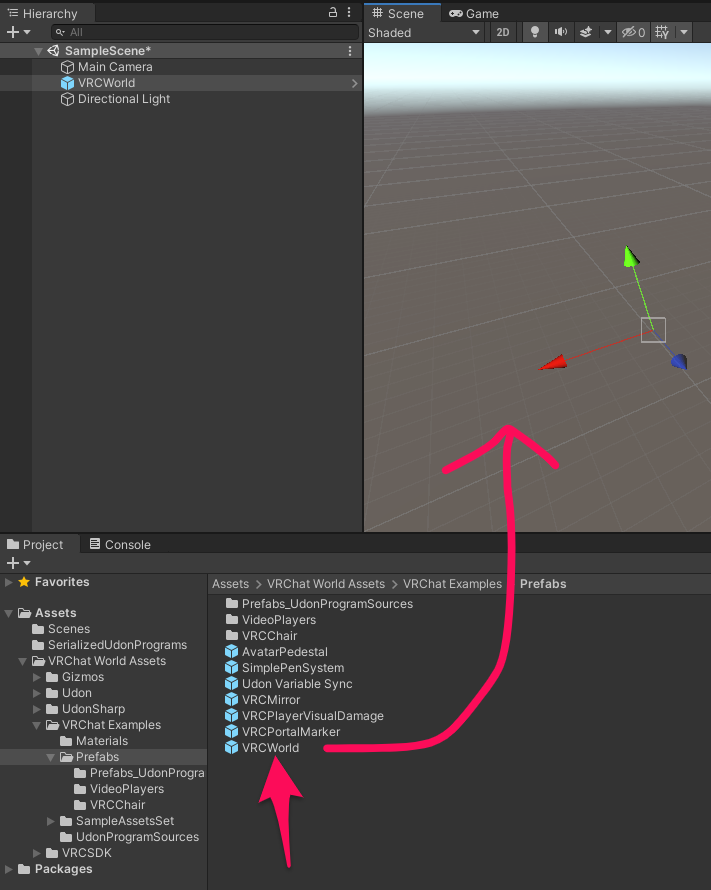
「Assets > VRChat World Assets > VRChat Examples > Prefabs > VRCWorld」をシーンにドラッグ&ドロップします。
手順24
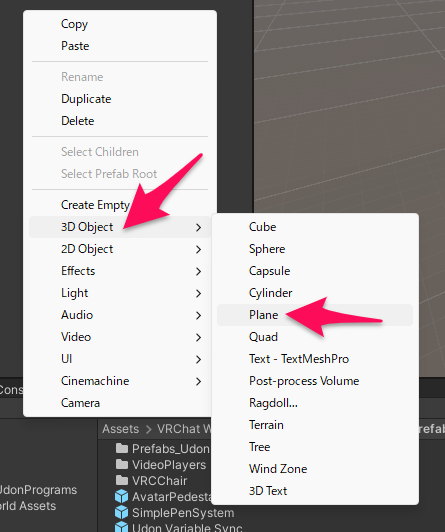
ヒエラルキーの空いているスペースで右クリックして「3D Object > Plane」を選択して地面用の GameObject を追加します。
ビルド
手順25
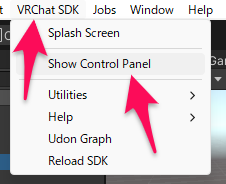
上の「VRChat SDK > Show Control Panel」を選択します。
手順26
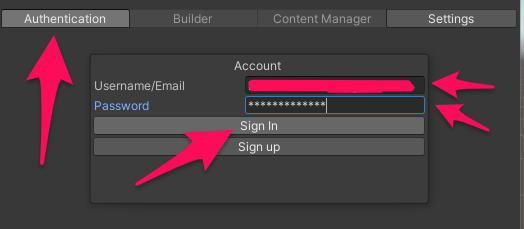
「VRChat SDK」というウィンドウが開くので「Authentication」のタブを開いて自分の VRChat アカウントの「Username/Email」と「Password」を入力して「Sign In」を押します。
手順27
この画像のようなウィンドウが表示された場合は「OK」を押して先に進みます。
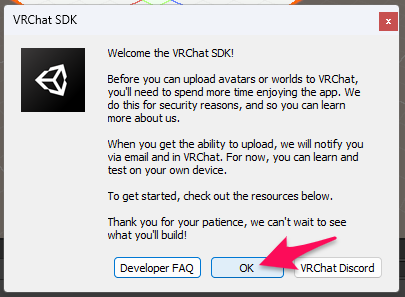
このウィンドウの中のメッセージを日本語に訳すと以下のようになります。
VRChat SDK へようこそ!
DeepL翻訳
VRChat にアバターやワールドをアップロードする前に、このアプリをもっと楽しんでいただく必要があります。これはセキュリティ上の理由と、私達のことをより知っていただくためです。
アップロードできるようになったら、メールと VRChat でお知らせします。今のところ、ご自身のデバイスで学習やテストができます。
始めるには、以下のリソースをご覧ください。
お待たせしました。あなたが何を作るか楽しみです。
手順28
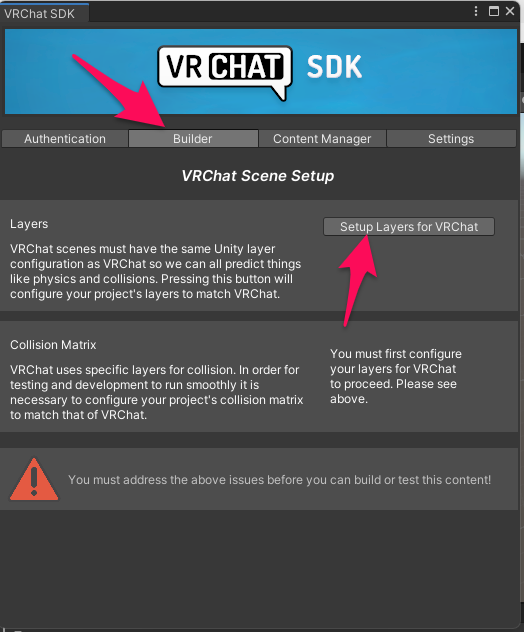
「VRChat SDK」ウィンドウで「Builder > Setup Layers for VRChat」を押します。
手順29
「Setup Layers for VRChat」というウィンドウが表示されるので「Do it!」を押します。
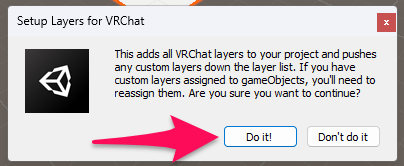
このウィンドウの中のメッセージを日本語に訳すと以下のようになります。
VRChat のレイヤーがプロジェクトに追加され、カスタムレイヤーはレイヤーリストの下に表示されるようになります。GameObject にカスタムレイヤーが割り当てられている場合は、再割り当てする必要があります。本当にこのままで良いのでしょうか?
DeepL翻訳
手順30
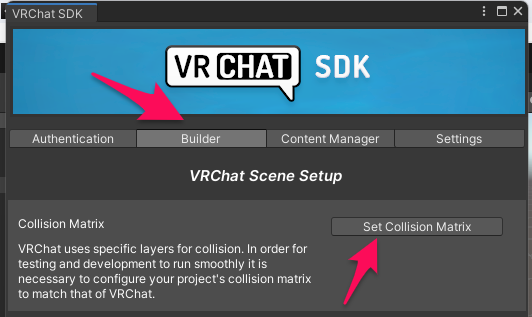
「VRChat SDK」ウィンドウに戻って「Builder > Set Collision Matrix」を押します。
手順31
「Setup Collision Layer Matrix for VRChat」というウィンドウが表示されるので「Do it!」を押します。

このウィンドウの中のメッセージを日本語に訳すと以下のようになります。
これにより、VRChat レイヤーの PhysicsManager に正しい物理コリジョンが設定されます。本当にこのままでいいのでしょうか?
DeepL翻訳
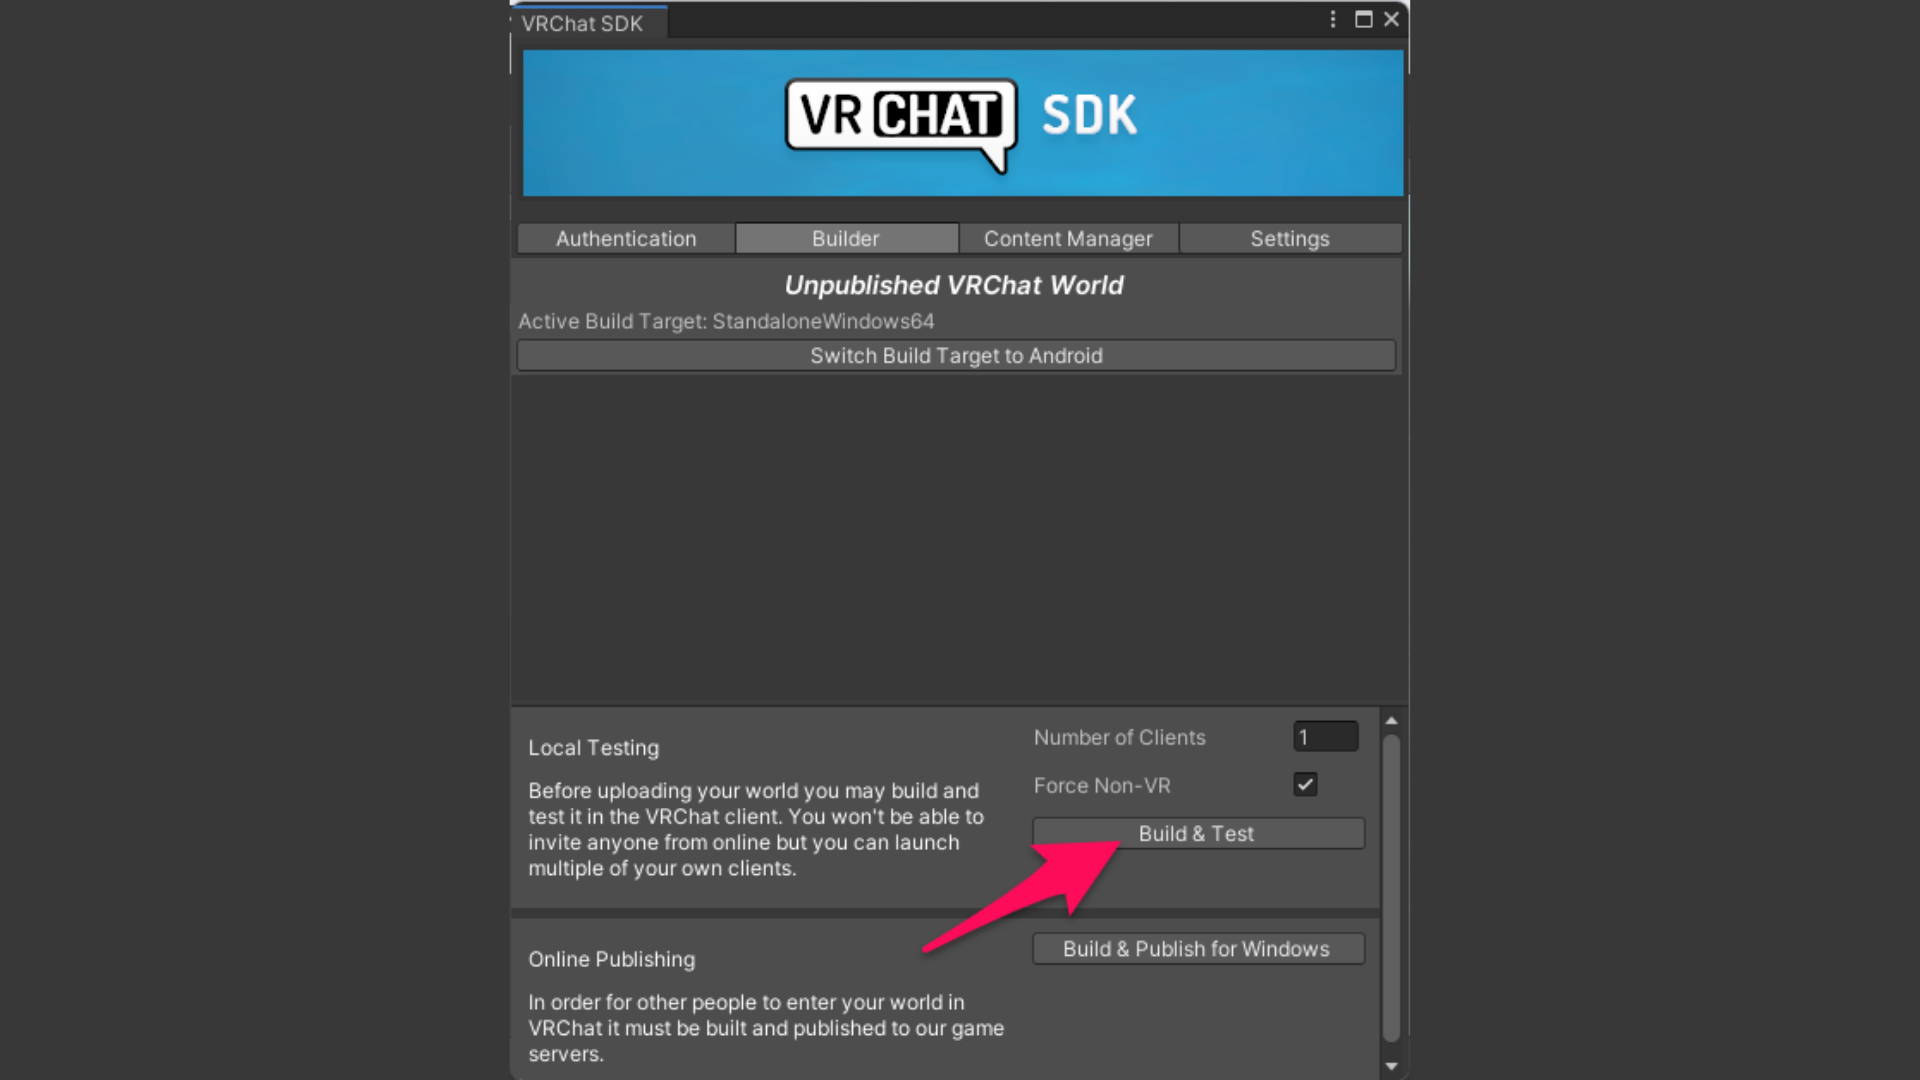
手順32
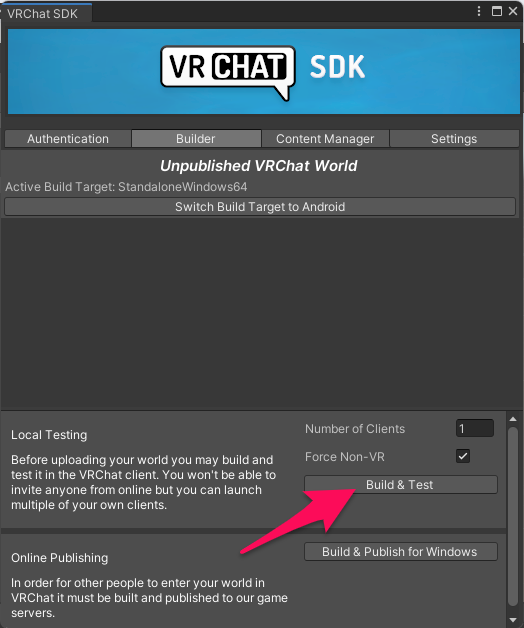
「VRChat SDK」ウィンドウに戻って「Builder > Build & Test」を押します。
最後に
参考記事
- 【初心者向け】Unityのダウンロード方法とインストール方法、 Asset Storeを詳しく解説
- 【VRChat】イベントワールドの作り方【素材配布あり/ イベントワールドテンプレート】
- VRchat ユーザランク