はじめに
この記事では Unity でキャラクターにアニメーションを適用する超基本的な流れを解説します。
一連の流れをサラッと確認する用です。
ちなみに Unreal Engine 編はこちらです!

手順
3D モデルのインポート
手順1
早速、手順を解説します。
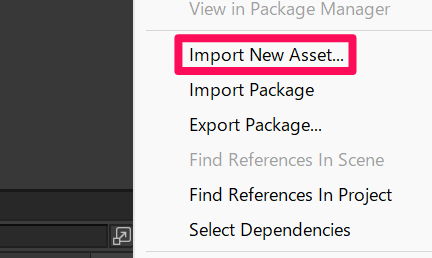
まずは Assets フォルダの中で右クリックして「Import New Asset…」を選択し、アニメーションさせたい 3D モデルをインポートします。
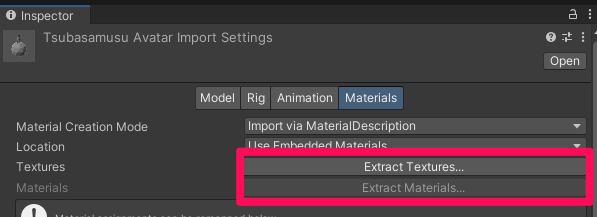
手順2
インポートした 3D モデルを選択してインスペクターから「Extract Textures…」や「Extract Materials…」を押し、テクスチャやマテリアルを生成します。
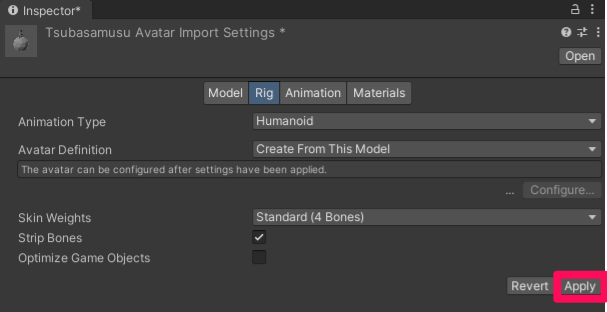
手順3
インポートした 3D モデルが人型の場合はそれを選択してインスペクターから「Rig > Animation Type」で「Humanoid」を選択します。

手順4
右下の「Apply」を押してリグを生成します。
Animation Clip のインポートと適用
手順5
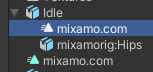
FBX などの形式でアニメーションをインポートし、Assets フォルダの中でモデルのトグルを展開します。
その中にある Animation Clip ファイルを複製(Ctrl + D)するなどして Animation Clip ファイルのみを抽出します。
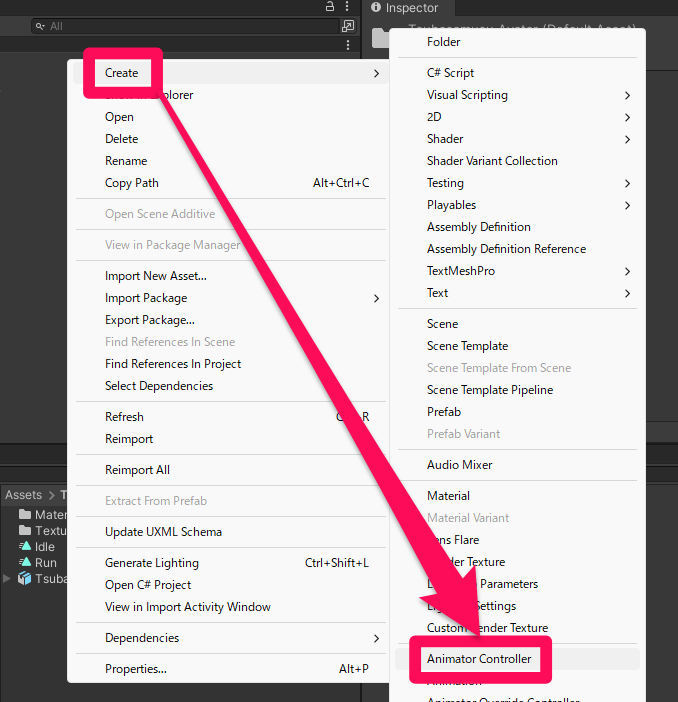
手順6
Assets フォルダの中で右クリックして「Create > Animator Controller」で Animator Controller を作成します。
手順7
作成した Animator Controller をダブルクリックしてグラフを開きます。
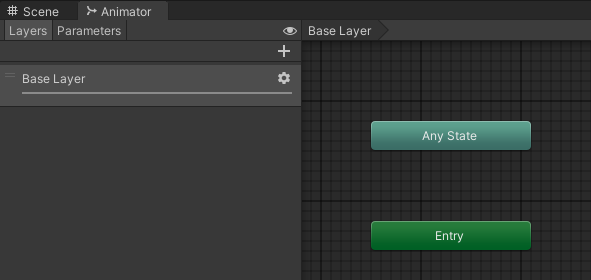
手順8
グラフの中の何もない所で右クリックして「Create State > Empty」で空のステートを作成します。

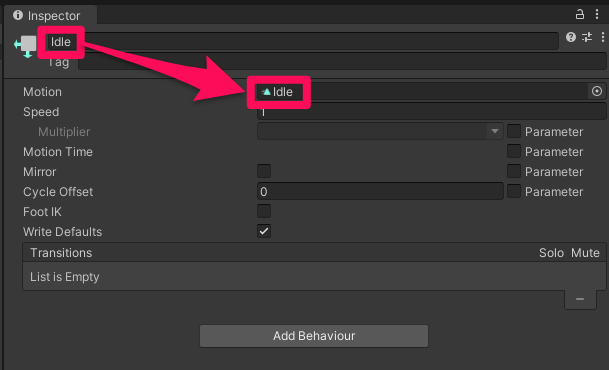
手順9
作成したステートを選択してステート名を適切なものに変更し、Motion に Animation Clip をアサインします。
(今回は「Idle」というステート名にして待機モーションの Animation Clip をアサインしました)
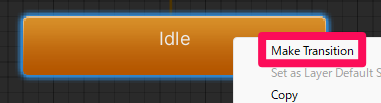
手順10
同じようにして歩行モーションなどのステートをグラフ内に作成し、初期モーション(オレンジ色のステート)上で右クリックして「Make Transition」を選択します。
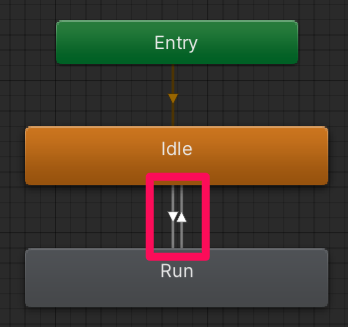
手順11
作成した Transition を歩行モーションなどのグレーのステートに接続し、同様にグレーのステートからオレンジ色のステートにも Transition を作成して接続します。
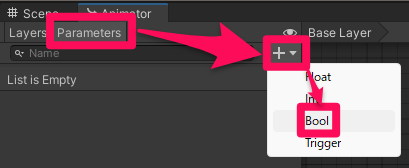
手順12
左上の「Paremeters」を選択して「+▼」からパラメーターの型を選択して適切なパラメーター名を設定します。
このパラメーターはステートの遷移条件に使用します。
(今回は Bool 型の「Run」という名前のパラメーターを作成しました)
手順13
オレンジ色のステートとグレーのステートの間の2本の Transition を1本ずつ選択してインスペクターの「Conditions」の右下の「+」を押し、先ほど作成したパラメーターを追加します。
この Transition が有効となるときのパラメーターの状態を設定しておきます。
この画像は待機モーションから走行モーションへの Transition を選択したときのインスペクターの画面で、Bool 型の Run パラメーターの値が true のときに待機モーションから走行モーションに遷移するように設定してあります。

アニメーション遷移の制御
手順14
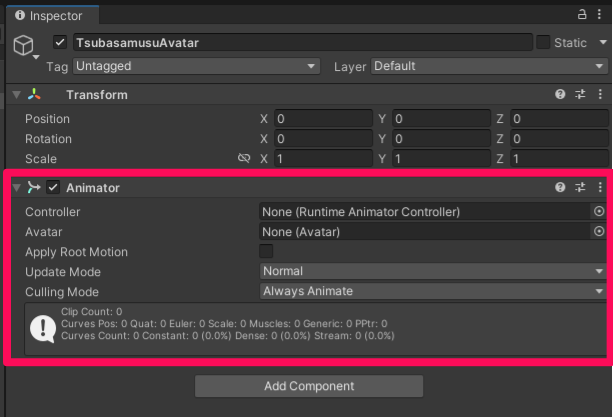
冒頭でインポートした 3D モデルをシーン上に配置してインスペクターからそのゲームオブジェクトに Animator コンポーネントをアタッチします。
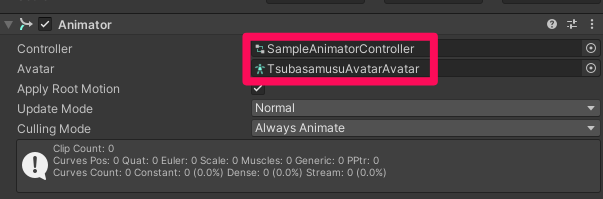
手順15
Animator コンポーネントの「Controller」には Animator Controller を、「Avatar」には 3D モデルの Avatar をアサインします。
手順16
MonoBehaviour クラスを継承したクラスを作成して Animator のパラメーターの値を制御する処理を記述し、そのスクリプトを 3D モデルのゲームオブジェクトにアタッチします。
以下の例ではスペースキーが押されるたびに「Run」パラメーターの値を切り替えています。
using UnityEngine;
public class Sample : MonoBehaviour
{
private Animator animator;
private void Start()
{
animator = GetComponent<Animator>();
}
private void Update()
{
if (Input.GetKeyDown(KeyCode.Space))
{
animator.SetBool("Run", !animator.GetBool("Run"));
}
}
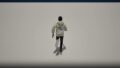
}手順17
ここまでできたらゲームを実行して動作を確認します。
この動画のようにプログラム通りにアニメーションが切り変われば OK です。